Editor's note: This is a companion piece to Adam Douglas' "5 Things You Should Be Doing to Keep Your Old Synths Looking Brand-New," which focused on tips and best-practices for cleaning and preventive maintenance. This article, meanwhile, leads you through simple fixes you can make yourself when things go wrong. For other similar writing, check out Douglas' site, Boy Meets Synth.
Old synthesizers break down. This comes with the territory. We love them because of their sound, because they invoke a certain kind of feeling or nostalgia, or just because they look so cool. But anything old will eventually break down. As with classic cars, it's an absolute requirement to have a good repair technician in our contacts. They're indispensable. But as with cars, it can be useful to be able to do a little basic maintenance yourself.

Being able to work on your own gear can be very convenient. You'll save time and money, and likely gain a greater appreciation for your gear. We're not talking about anything hardcore here, though. More like the synthesizer equivalent of changing the oil. Anything serious should be left to the professionals.
Some of these techniques require soldering. It's not difficult to do but it is a skill that improves with practice, so the first time you pick up a soldering iron shouldn't be when you're about to change the battery on your Polysix. Buy some electronics hobby kits and practice that way. You'll also need to be able to desolder (remove the old solder) and that's another skill as well. Check out some tutorials online if you're not familiar with this. Be sure and wear a respiratory mask and eye protection, and work in a well-ventilated area with a fan blowing while working.
Lastly, exercise extreme caution when working with electronic equipment. Never touch a live circuit. Always turn off and unplug your gear before opening it up. If you're working on a battery-powered device, remove the batteries first. And remember that capacitors can hold their charge for a few seconds even after powering off so don't be in a rush to touch things. The human body is unfortunately a very good conductor of electricity so work safely and smartly. No piece of gear, even a Jupiter-8, is worth dying for.
The following five techniques are arranged in order of difficulty, with the ones requiring soldering later.
Clean the Knobs and Sliders
Over time, dirt can get inside the potentiometers (or pots) on your synthesizer. These are usually the knobs or sliders (sometimes called faders) on the face of the synth. This can cause crackling sounds when you turn or slide the pot. The good news is, it's relatively easy to fix. When I see demo videos on YouTube with noisy pots, I'm always a little surprised. It really is easy to clear up.
Sometimes, just working the knob or slider back and forth is enough to dislodge the dirt that's interfering with the mechanism. A quick blast of compressed air into the pot may also do it.
If the above methods haven't improved the situation, you can try using a little contact cleaner. DeOxit D5 works well for me. Spray a little into the slider, work it back and forth for a while, and then test it out. It may take a few tries to rectify the problem. Rotating pots are a little more difficult, as usually they can't be accessed from the front panel. You may need to open up the machine to get at the exposed component. Spray a small amount of DeOxit into an opening on the pot (usually on the side or near the bottom) and rotate the shaft a few times.
Be aware that contact cleaner is not a magical fix-all. It won't work with tactile switches (the components under buttons) and it could actually be harmful for some sliders. There are sprays that are made especially for them (such as DeOxit F5 FaderLube). Every machine is different so check around and do some research first.
If this still hasn't done the trick, your issue may be worse than just a little dirt, in which case you'll need to take your instrument to a professional.
Clean (and Possibly Pencil) Key Contacts
For notes to sound, electrical contacts under the keys need to be clean and clear of obstructions. Dirt, dust bunnies, and other detritus can sometimes get in and prevent the proper electrical connection from taking place. There are a number of different key contact constructions, some metal and some with carbon pads, but the basic idea is the same: if they're dirty, you'll have dead notes.
First you need to get at the contact for the dead note. This may be as simple as removing a few keys, or as complicated as having to remove them all, or perhaps just unscrewing the contact board from the underside of the keyboard chassis. Every manufacturer has its own system, or even multiple systems, depending on the era. Be careful not to interfere with anything else in there, like the aftertouch strip. You may have to unplug some cables as well. Take lots of pictures so you can easily remember how it all goes back together. It may look obvious when taking it apart, but when you're trying to put it all back together, suddenly every cable looks the same.

Once the contact is visible, you should be able to tell if it's metal or carbon—the carbon will look black like pencil lead. If it's metal, you can use a little isopropyl alcohol on a cotton swab to clear away any dirt. If it's carbon, a dry cotton swab should do the trick. (Alcohol can actually remove the carbon, which could be bad.) Make sure you clean off the mechanism that touches the contact pad as well. It could be a small piece of metal that comes down from above, or a small black nubbin inside a plunger for the carbon contact.
Sometimes the carbon on the carbon contact gets worn down and there isn't enough material left to make the connection. If this is the case, try rubbing a little pencil graphite across the contact. The carbon in the grapite will help the electricity flow. I once had a Korg Poly-61 with a number of dead keys and this did the trick. Of course, this is not a permanent solution, but it might be good enough to get you through until you can get it to a professional. (Remember that the pencil trick will only work with a carbon contact. Rubbing pencil graphite on a metal contact will only make it worse.)
If this doesn't work, or if your dead notes are in even spaced intervals, you have a different problem and it's time to call a professional.
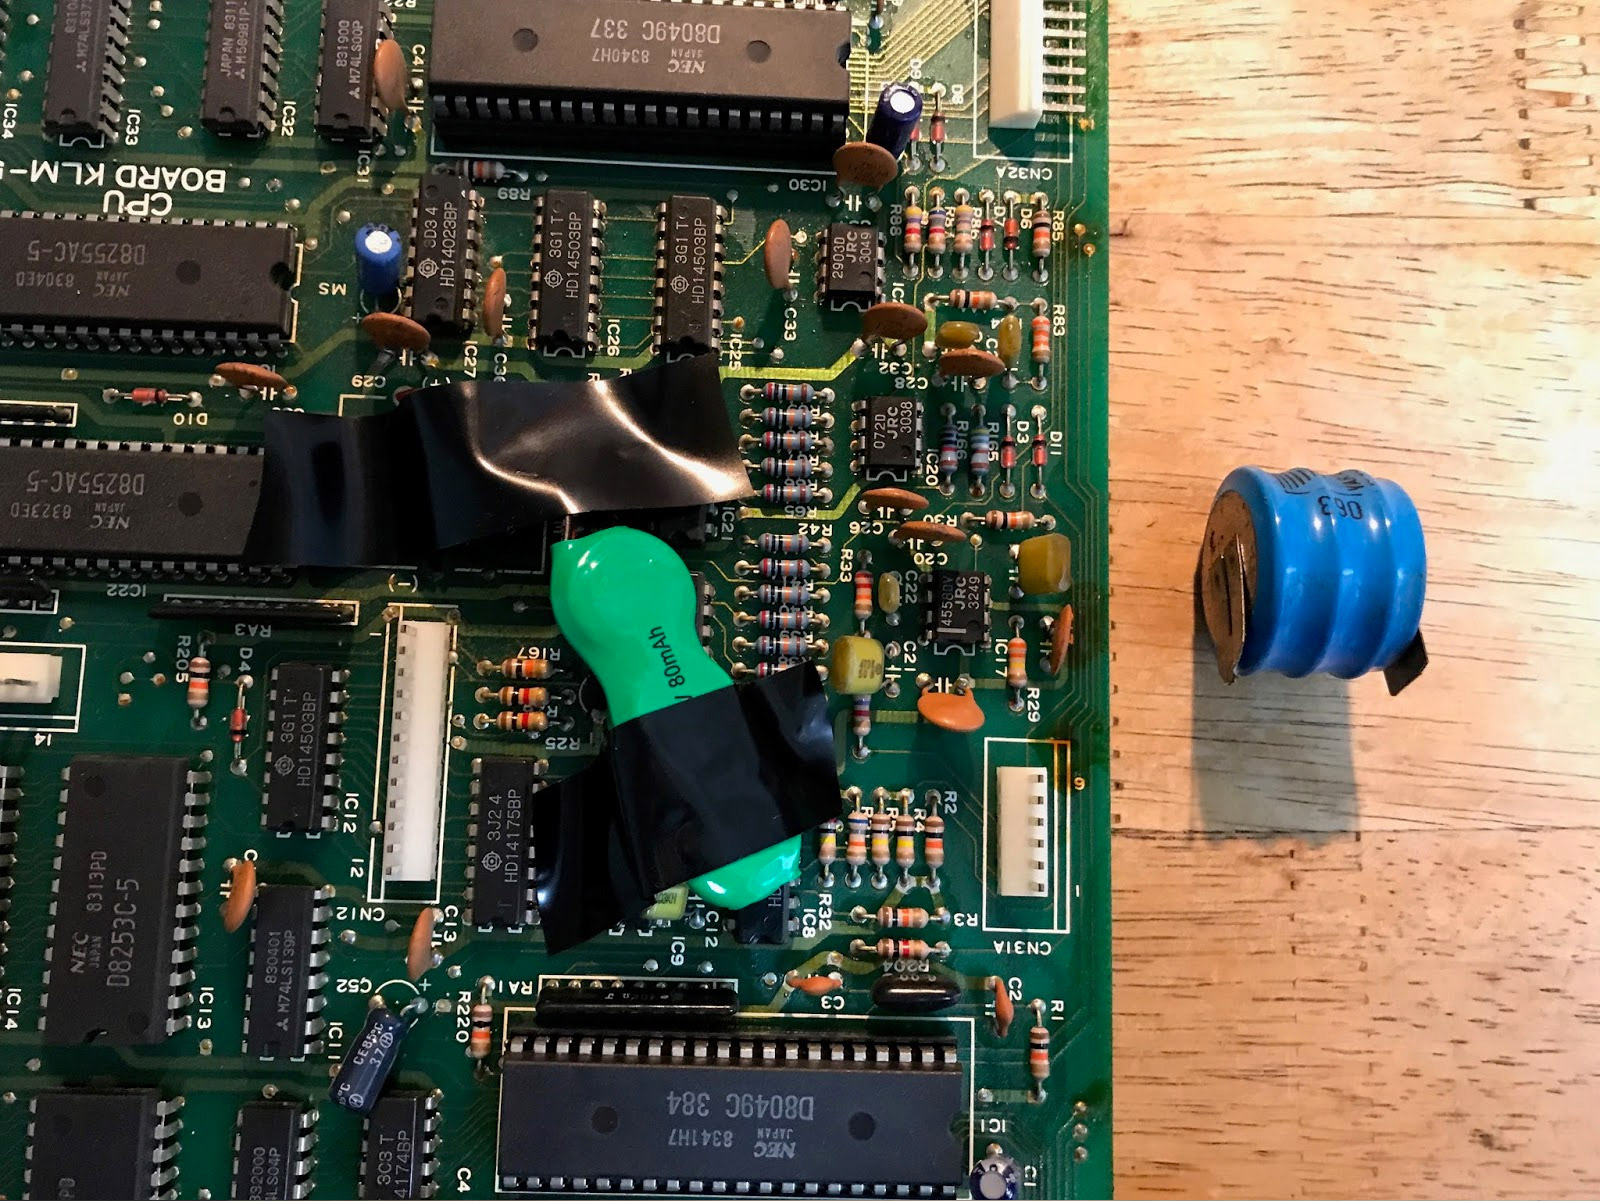
Replace the Programmable Memory Battery
In the late '70s synthesizers started having programmable memory. That memory needed a small, internal power supply to save the settings even when the machine was off. Some keyboards, like the Casio CZ-101 and early revs of the Korg Poly-800, used regular dry cell batteries to store the patches, but most made use of a battery soldered directly to the PCB (printed circuit board). There are different kinds of batteries used, depending on the age of the synth, but most tend to be a coin cell battery. You will need to check online to find out what kind of battery your synth takes. In some cases, there are modern equivalents of older technology that are acceptable.
To change a battery in a synthesizer, you will need to be able to solder and desolder. If you're working with a coin cell type, it will need "legs" so that it can be soldered to the board, either through holes or to surface-mounted solder pads. These can be bought readymade or you can make your own. You can also find holders than be soldered to the board that allow you to then change the battery without having to do any additional soldering. This latter method is undoubtedly convenient but the holder may be too big for the space on the PCB, in which case you'll need to add wires and find a safe and secure place to mount the holder.
If you're changing the battery on a later Poly-800, congratulations—your synth has solder pads for the battery, so the PCB won't need to be removed to do the job. You don't even have to do any desoldering first. Just clip out the old battery, heat up the solder pads, remove the pins from the solder, and put in the new one.
If you're looking at a battery whose legs go flush to the board, you'll have to remove that PCB so you can get at the underside where the soldering is done. Once out, clip the battery's legs and remove the battery by hand first before attempting any desoldering.
Applying a soldering iron to a component transfers quite a bit of heat into it, and this could cause a battery to leak or possibly explode. Remove the solder from the board, discard the old pins, insert your new battery, and add solder to hold it in place. Make sure you have the battery oriented correctly. The pin coming from the top of the battery or holder is the positive terminal. Polarity should be indicated on the board. If it's not, check online.
If your synth won't save its patches after installing a new battery, or if you discover corrosion from where the previous battery leaked (a big problem with the Polysix and Poly-61), take it to a professional.
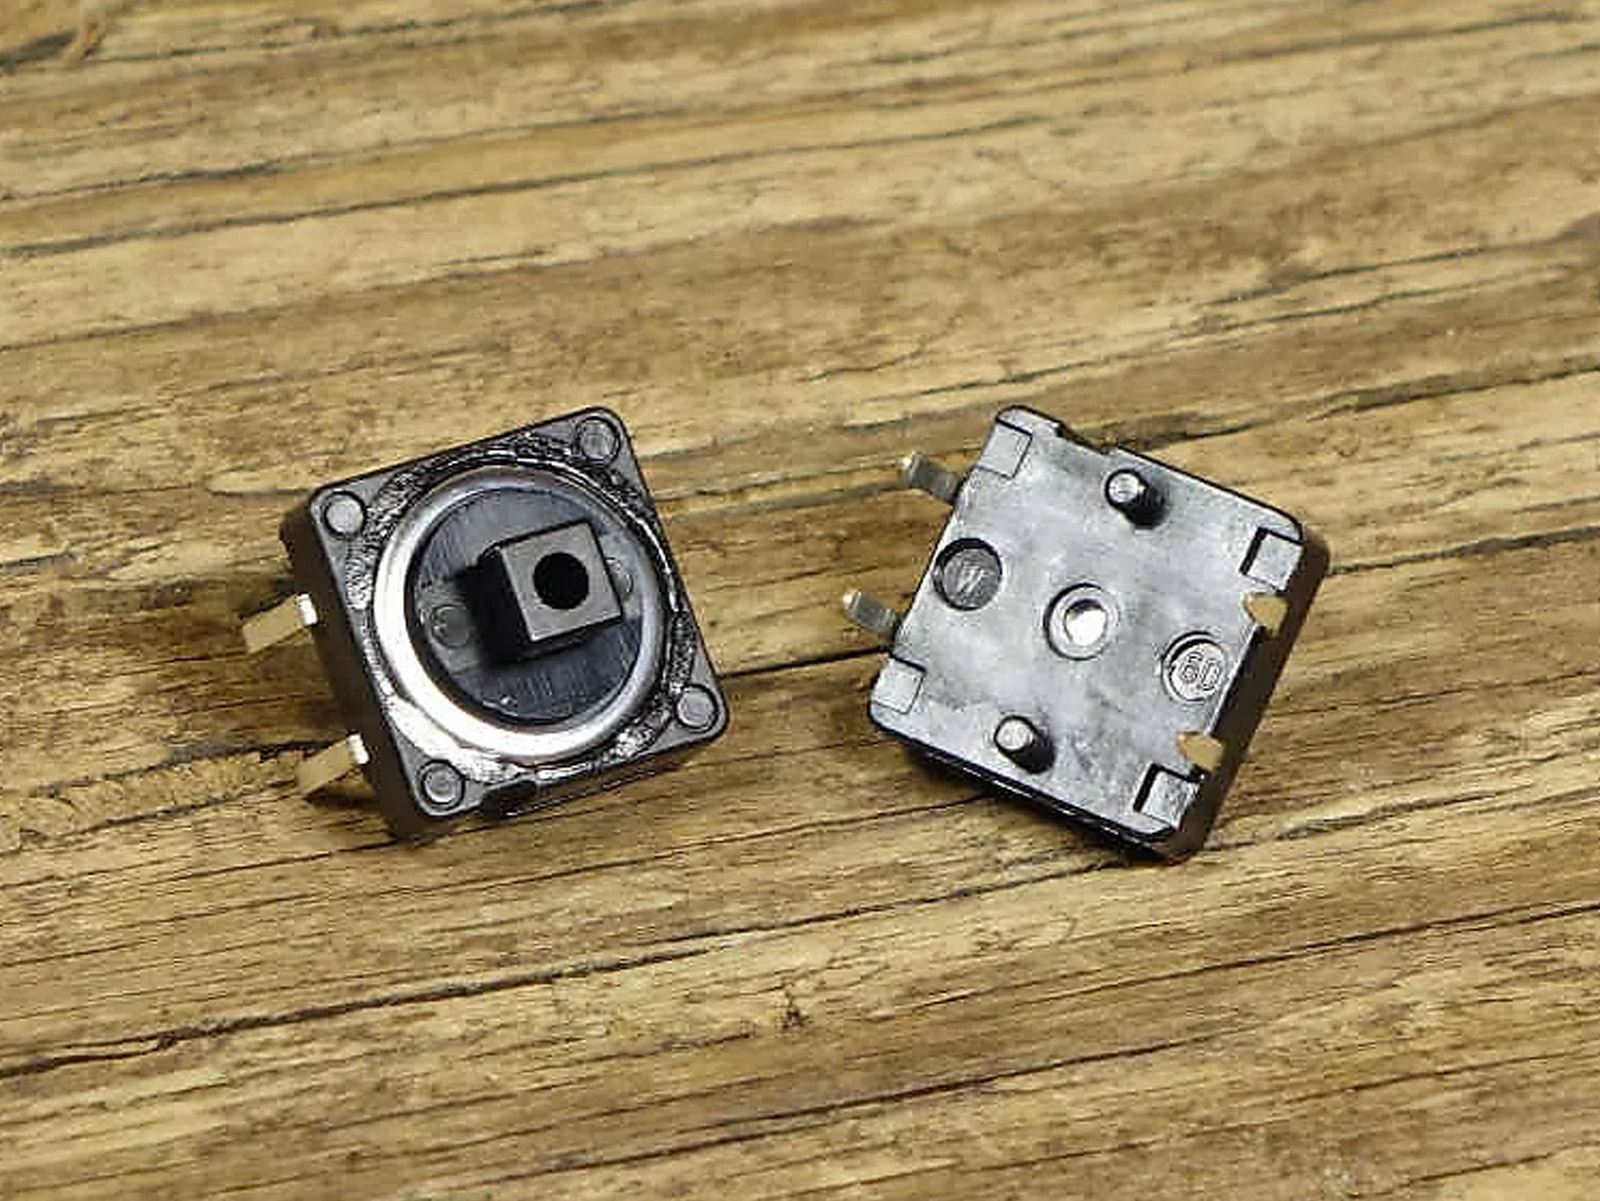
Replace Your Synth's Tactile Switches
Underneath the buttons on your synth are tactile switches, small button-like boxes that solder into the control board and turn things on or off. These wear out over time, resulting in intermittent behavior or the dreaded double click. They can't be fixed with contact spray. They have to be replaced.
The good news is it's not difficult to do and they're cheap. You can buy them from online components retailers if you know the part number or from synth parts sites if you can't be bothered. The bad news is, most synths have a lot of them, and if you change one, you should change them all. I recently did my Casio CZ-5000 and that thing has 82 buttons.
To access the control panel, you'll need to remove it from under the face of your synthesizer. This is not difficult in theory, although in practice it may require removing other things to get at it, such as the jack or power boards. You will also likely need to undo some cables, so be sure to document everything with pictures as you go. Some cables have different numbers of wires, but many are exactly the same.
First, you'll need to desolder the old switches. Sometimes there are tiny holes in the board to help you pop them out. If not, a small screwdriver worked in under the switch can help you pry it out. Work carefully so you don't damage anything. If you break a trace (the lines that carry the electricity) on the PCB something will stop working.
Once the old switches are out, insert the new switches. Make sure they're flush against the board before you start soldering, then solder all the switches in, reassemble everything, and check. If nothing works, you've probably put a cable back in the wrong place. If a button or two won't work, check that your solder joints are full and completely surround the legs of the components, and be sure that no two joints are touching.
If things are still not working properly, or you're feeling frustrated or out of your element, take your synthesizer to a trusted professional.
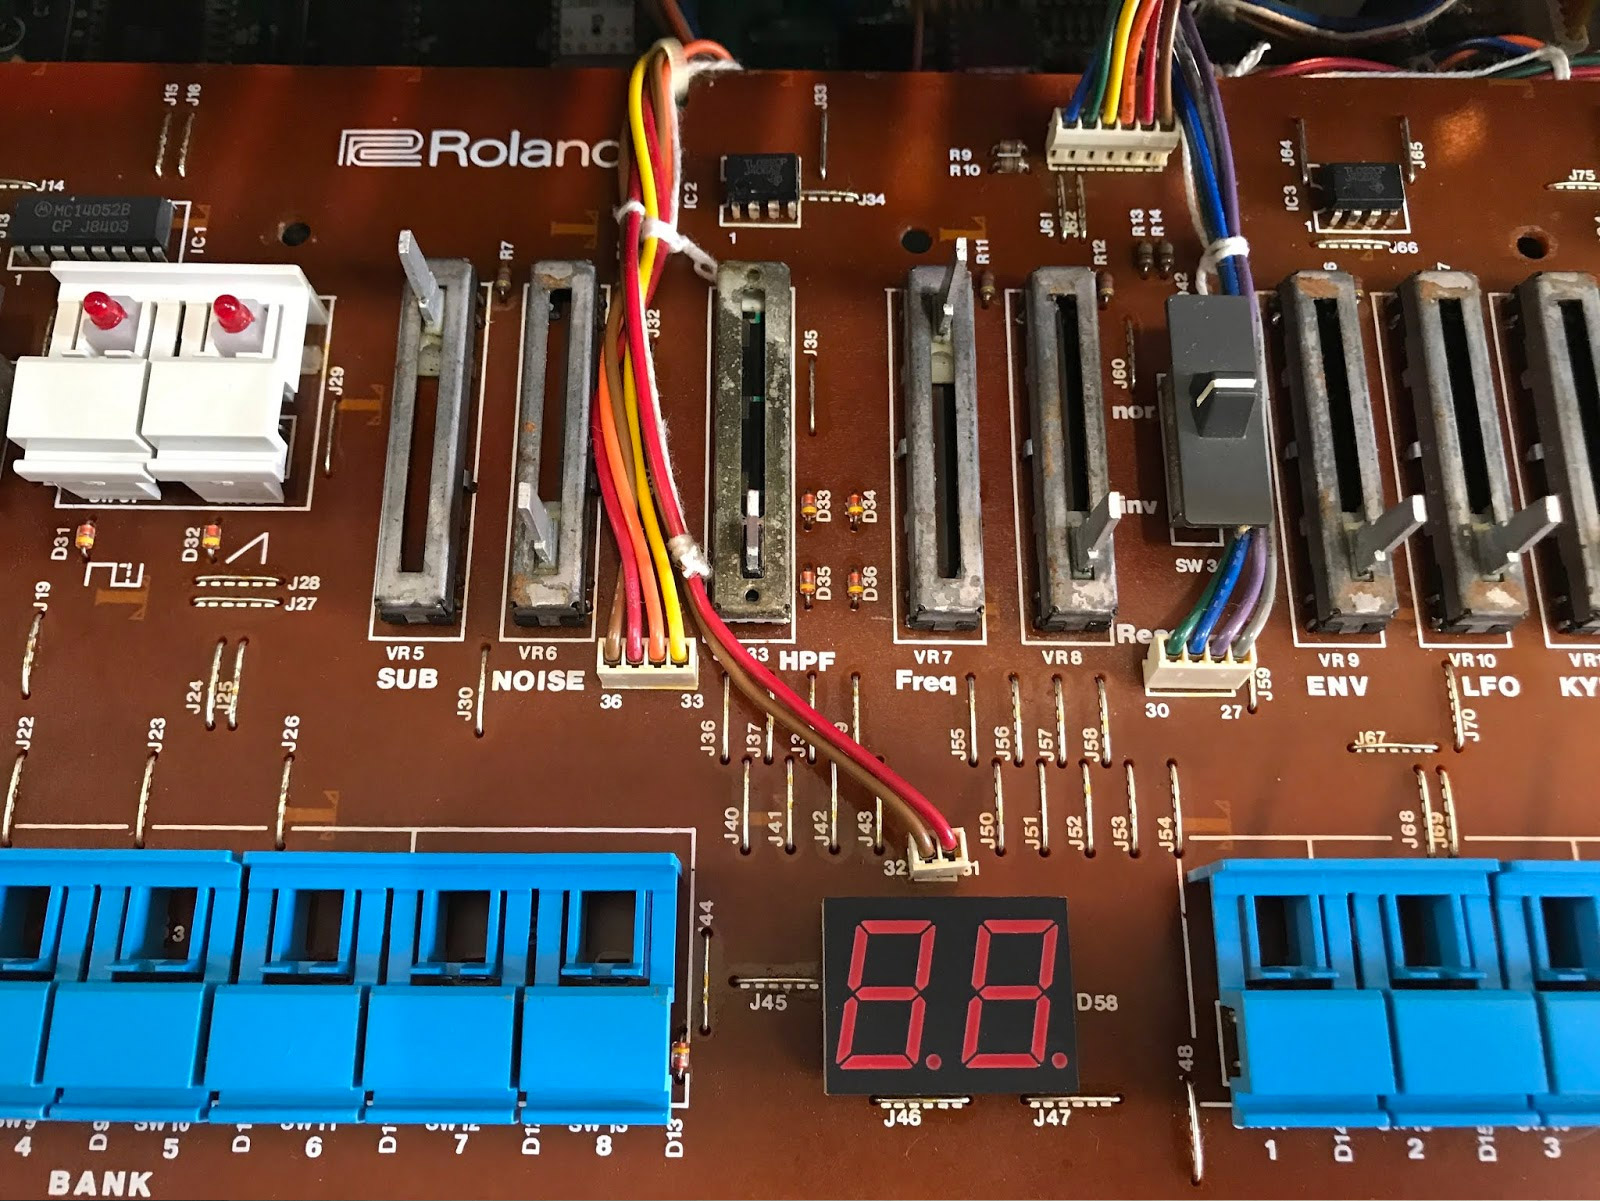
Reflow Dry Solder Joints
Solder joints (the points where solder connects a component to a PCB) can become brittle over time and crack, leading to intermittent or unresponsive behavior. This is easy to fix—you can reflow solder onto the bad joint. Or—better yet—you can remove the old solder and add new. The bad news is they can be difficult to find.

Without experience, looking for cracked solder joints can be a little like looking for a needle in a haystack. The joints are very small, and the cracks can be hard to see. A magnifying glass can make them easier to see, but it helps of you know what you're looking for. This skill will be developed over time but for now, if you can see a crack with your naked eye then it likely needs to be reflowed.
One case where a loose solder joint is obvious is with jacks and other interconnects. Any place where you repeatedly plug and unplug a cable is bound to become stressed and may lead to problems. Audio jacks, power adapter ports, MIDI ports—these are all candidates for dry joints. If your power is randomly cutting out, or you lose sound when you wiggle the cable, try checking the solder joints where the jack meets the board. If they look cracked, reflow them and see if things have improved.
Of course, if reflowing solder doesn't make a difference, it might be time to call your repair technician.
Adam Douglas is a musician and synthesizer fan based in Tokyo, Japan. He writes about synths on his blog, http://boymeetssynth.blogspot.jp/.