The process of recording is so different from the experience of performing. There's a specifically human element to playing live in front of a crowd, and its absence can feel weird to a musician who isn't used to it.
That live human element brings with it little imperfections that we often try to reduce in the studio in the name of more control. Sometimes, though, tracking an acoustic guitar and vocals separately can lead to recording that sounds lifeless.
Whether it’s a quick demo or a full-on studio session, tracking your vocals and guitar at the same time can be the perfect way to capture the excellent vibe that comes with live performance, as well as some killer tone. Getting good sound this way all depends on how you mic your performer.
Your first step is to decide what kind of vibe you're going for. Do you want a roomy tone that sounds like a live performance, or are you going for a tighter, more controlled studio sound?
Do you need maximum isolation from the guitar and the vocal so you can do time and pitch correction, or are you going for that “one mic, one take” off-the-cuff feeling?
Remember, every guitar, every musician, and every song is different. Try to find the setup that best serves the song, and don’t be afraid to experiment with different microphones or placements.
One Large Diaphragm Condenser
This method works well for roomy recordings that capture the vibe of a performance. Your pickup pattern matters a lot here. Omni will give you maximum roominess, while cardioid lends a more direct sound.
Move the mic closer to the performer for a more direct sound with less room noise, or further away for more room tone.
Raise the mic stand up and down to balance the sound. Lower it to capture more guitar, or raise it so it's level with the vocalist's mouth.
If you're still getting too much of one sound over the other, you can angle the mic so that it's on-axis to the preferred sound source and, in turn, off-axis from the overpowering one.
One Figure 8 Mic
For this method, you can choose to use a large diaphragm condenser or a ribbon mic with a figure 8 pickup pattern.
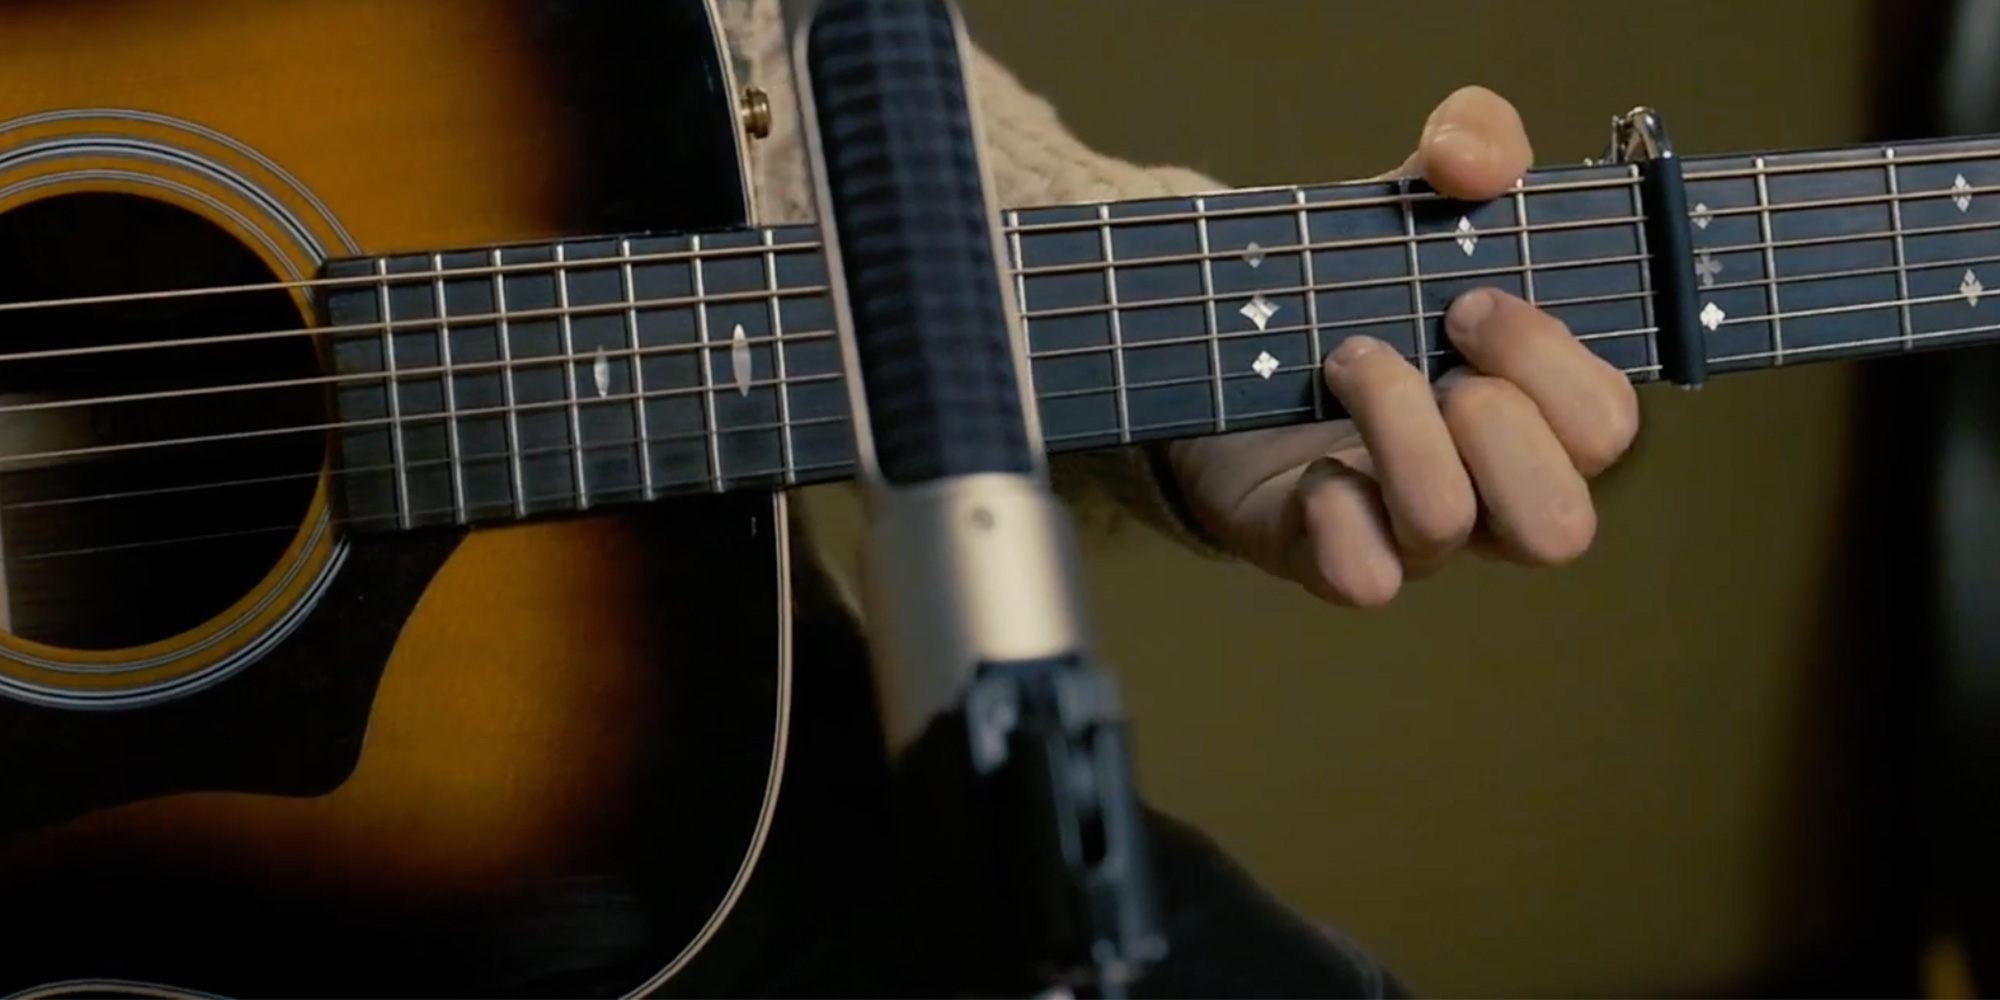
Place the mic with the capsule pointed towards the floor and the ceiling, and slide it between the performer’s mouth and their guitar.
Just like before, you can move the mic up and down toward either the vocals or the guitar to capture more of the desired instrument.
Moving it closer to the performer will give you a more direct sound. Moving it further away will give you more distance and ambiance.
You can also point the mic on- or off-axis to increase rejection and favor either the guitar or the voice.
While this method still won't give you an isolated track for both vocals and guitar, you should be able to achieve a good balance with proper mic placement.
Vocal Mic and Guitar DI
Assuming you've got two inputs and an acoustic/electric guitar, this is a great method for obtaining isolated vocal and guitar tracks.
First, plug your acoustic/electric guitar into a hi-z input, set your levels on your interface, and get an idea of what the instrument sounds like on its own. You won’t be able to change this direct-in sound until the mixing stage, so you’ll want to think about how to supplement it with the microphone.
If your guitar sounds perfect, then just use the microphone to focus on the vocals. A common choice would be an large diaphragm condenser set to cardioid, placed off-axis to the vocal, with maximum rejection to the guitar.
Unfortunately, your guitar tone from the direct output is likely to leave something to be desired in most cases. Most people feel the tone of these instruments is too direct, electric, or plucky. A simple way to combat those issues is to let the guitar bleed into the vocal mic a little bit. That should add depth and ambiance and help prevent the guitar from sounding too thin.
Vocal Mic and Guitar Mic(s)
This is one of the most natural-sounding ways you can record isolated guitar and vocal tracks, but it doesn’t let you capture much in the way of ambience.
For this method, start by mic’ing the vocal with a large diaphragm condenser, then close-mic the guitar with a small diaphragm condenser, or whatever mic you prefer for that job.
You'll need to move the small diaphragm condenser around to find the best-sounding position for it. A good place to start is near the 12th fret, where the body meets the neck of the guitar. Angle the mic off-axis (towards the floor) for greater vocal rejection.
Some engineers choose to use a spaced pair of small diaphragm condensers: one near the 12th fret to catch the brighter tones, and one near the bridge to catch the darker tones.
If you're still struggling to get the isolation you want, try angling the tray of a music stand perpendicular to the floor, then slide it between the guitar and vocal mics. This provides excellent rejection for both mics, but be careful that it doesn’t get in the way of the performer.
The big downside to this technique is that oftentimes the metal stand adds unwanted reflections. This can be countered by simply placing a panel of soundproofing, a pillow, or even a sweatshirt on the stand to absorb the vibrations.
Editor's Note: Check out every installment in Brad Pack's series on home recording.
- Home Recording Basics I: Setting Up Your Studio with Monitors and Acoustic Treatment
- Home Recording Basics II: Choosing Your First Audio Interface and DAW
- Home Recording Basics III: A Guide to Microphone Types and Placement
- Home Recording Basics IV: How to Record Acoustic Guitar and Vocals
- Home Recording Basics V: Mic'ing a Drum Kit From Start to Finish
- Home Recording Basics VI: How to Mic Your Electric Guitar
- Home Recording Basics Part VII: Recording Vocals in Your Bedroom
- Home Recording Basics Part VIII: Basics of MIDI and MIDI Controllers
- Home Recording Basics Part IX: How to Prep Your Tracks for Mixing
- Home Recording Basics Part X: Equalization
- Home Recording Basics Part XI: Compression and Dynamics Processing
Learn more about how to record music at home on our Basics of Home Recording homepage.