Though Apple's Logic Pro X may seem simple at first glance, it’s jam-packed with features under the hood. And while this is great for seasoned professionals, it can be off-putting for beginners just getting started with the software.
Below, we’re going to take a look at a few features that you should be familiar with if you're just starting out in Logic Pro. Hopefully, this will clear up any reservations you may have and get you off to a good start.
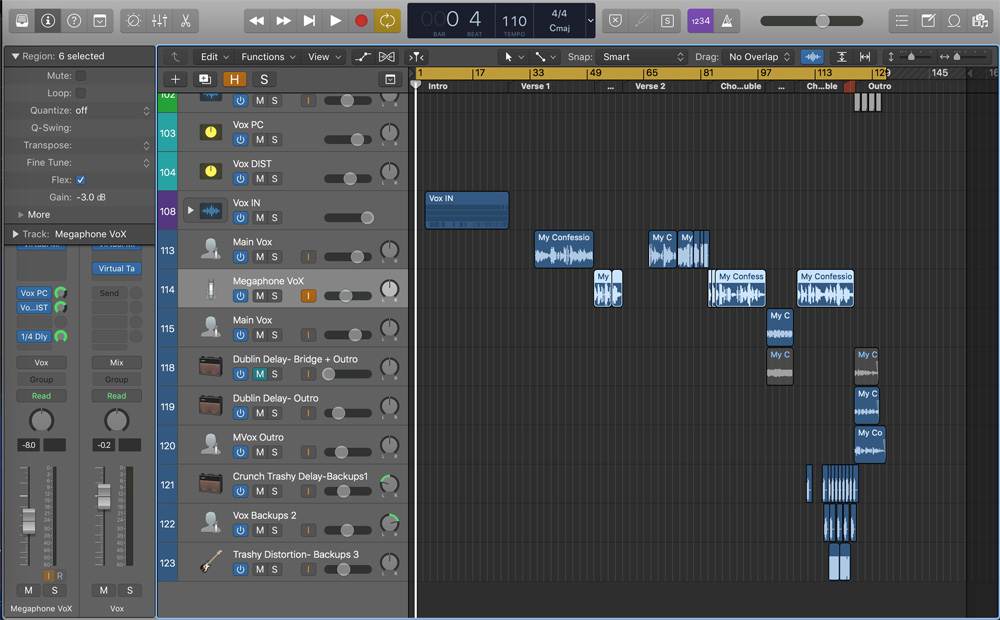
Adjusting Region Gain
Region Gain allows you to adjust the level of a region before it reaches the volume fader. That means you increase or decrease the level of a signal pre-processing. This is particularly useful when working with a session that was recorded particularly "hot."
Many plugins have an expected operating level of -15dBFS to -12dBFS. Sending them a signal at -3dB is going to affect the way they process the sound (usually for the worse).
To adjust region gain:
- Select the region you want to adjust
- Open the Inspector by pressing "I"
- Open the Region drop-down menu in the Inspector
- Adjust the "Gain" setting
Punching In to Re-Record
Punching in—clicking into a track and recording over what’s there—is pretty simple in Logic Pro. Quick Punch is enabled by default, so all you need to do is enable the track you’d like to punch into, play until you get to where you’d like to punch in, and hit record.
Alternatively, Logic also includes an Auto Punch feature, which allows you to pre-determine the punch in and out points. To enable Auto Punch mode, first:
- Right-click on control bar
- Select "Customize Control Bar and Display"
- Check ’"Auto Punch Mode" from the menu
This should create a new Auto Punch button on the transport. Click it to create a new lane with a red punch marker bar, similar to the yellow cycle marker. Use the red marker to set up in and out points for the area you want to punch in. Now, simply press record. Logic will playback the track and record over the highlighted area.
What’s also great about Logic is that it will record the entire pass—even before and after the punch markers. All you have to do is drag the clip forward or backward to expose the new recording.
Recording Multiple Takes with Cycle Record
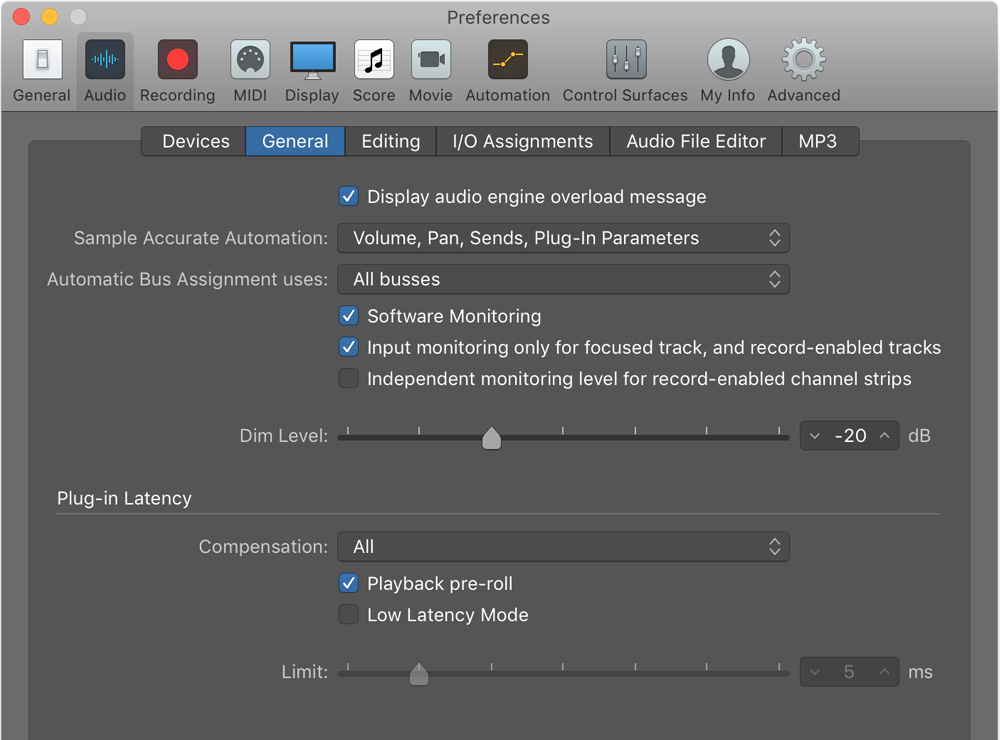
For artists that struggle with punching in and prefer to get into the groove and repeatedly try to nail a performance, there’s Cycle Recording. Cycle Recording is enabled by default, but the settings can be adjusted in the Preferences menu under the Recording tab.
To perform a cycle recording, engage the cycle button on the left of the transport. Use the yellow cycle marker to highlight the area you want to cycle or loop through. When you’re ready, just arm the track and press record. Logic will automatically arrange each take into a "Packed Take Folder."
Packed Take Folders look a little different than standard audio regions. They have a drop-down arrow on the left, followed by a number and a button on the right. The drop-down arrow opens up the available takes in the folder, and the number allows you to manually select which take is used for playback.
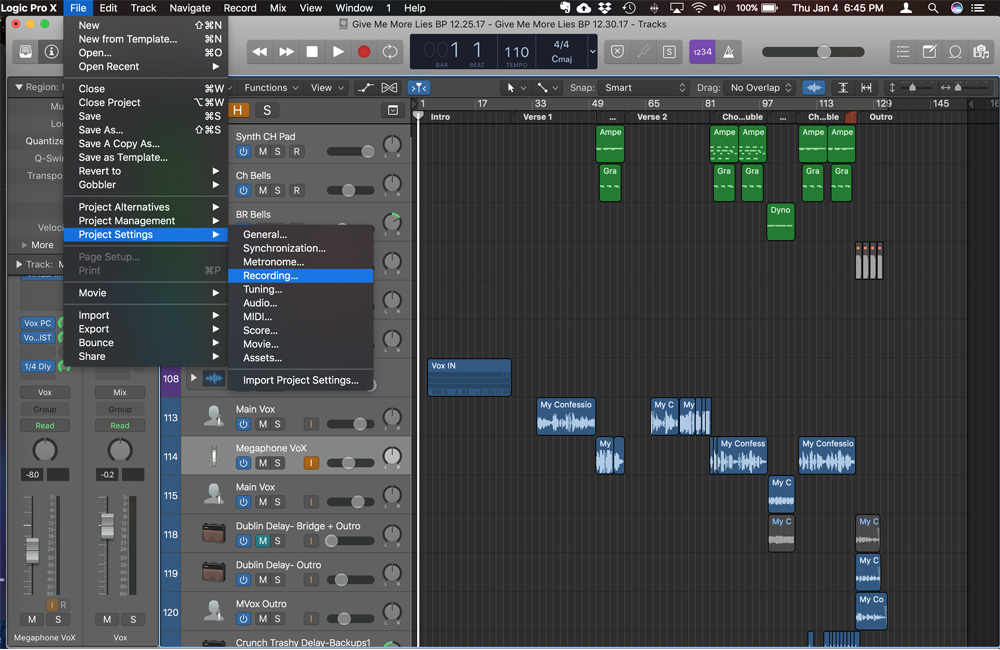
Many engineers prefer each take to be in a different color to help distinguish them from one another. You could do this manually with the color editor (Option+C), but you can also configure Logic to automatically color-code each take from the Project Settings menu:
- Go to the File menu
- Go to Project Settings section
- Select Record
- Under "General" check the "Auto-colorize takes"
Combining Multiple Takes, or Comping
Sometimes it’s difficult to settle on a single "perfect take," preferring certain parts from certain takes and other parts from others. With Logic, users can create a composite (comp) take that is a Frankensteinian amalgamation of all of the best parts of multiple takes.
To create a comp track, start by recording multiple takes of the same part using the Cycle Record feature. Then:
- Click the button on the left to open the drop-down menu and view the various takes
- Audition each take by clicking on the region and pressing play
- Identify which takes sound best for which lines
- Use the cursor to click and drag a selection from a take that you’d like to use
You can also create multiple comp takes by selecting the letter button (formerly a number) in the center of the clip. Now, in addition to Takes 1, 2, 3, etc., you’ll see Comp A and have the option to create more.
Unfortunately, comp takes (Packaged Take Folders) can’t be edited until they’re converted back into a region. To do this, simply right-click and choose to either:
- Flatten—convert the comp from a Packed Take Folder into multiple regions for each selection
- Flatten and Merge—convert the comp to a single, new region
Just be aware that both of these options remove your ability change which takes create the comp itself, so be sure you’re ready to commit before using these options. If you want to retain your unflattened comp track, you can instead choose to export active comp to a new track.
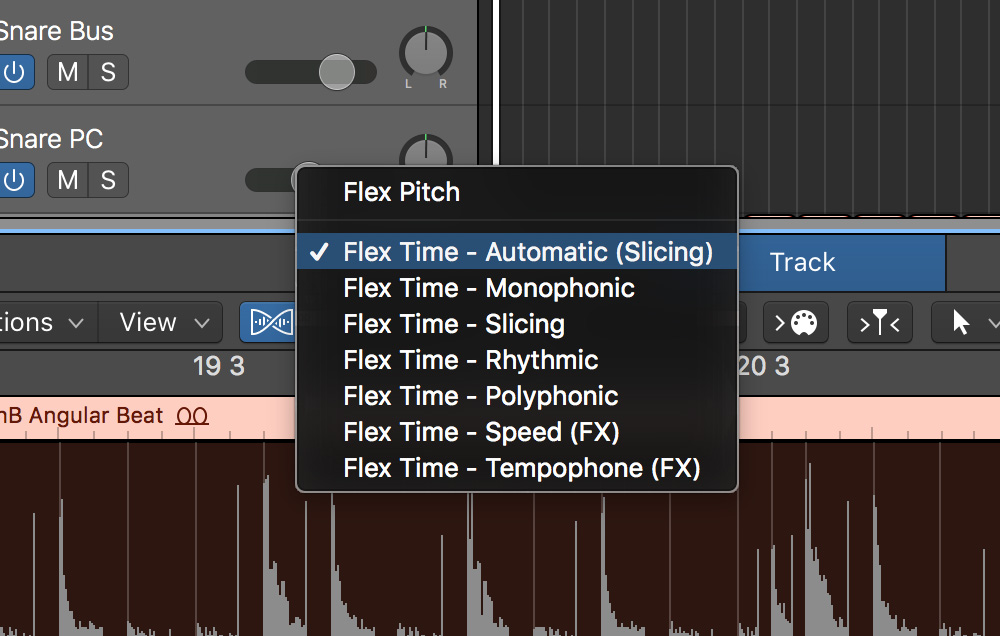
Changing the Rhythm of a Track with Flex Time
Flex Time allows you to manipulate the timing of an audio track, similar to quantizing with MIDI data.
To enable Flex Time, open the track editor by double-clicking on the audio region that needs a timing adjustment. Then, engage Flex Time by selecting the warped waveform button next to the View menu in the editor.
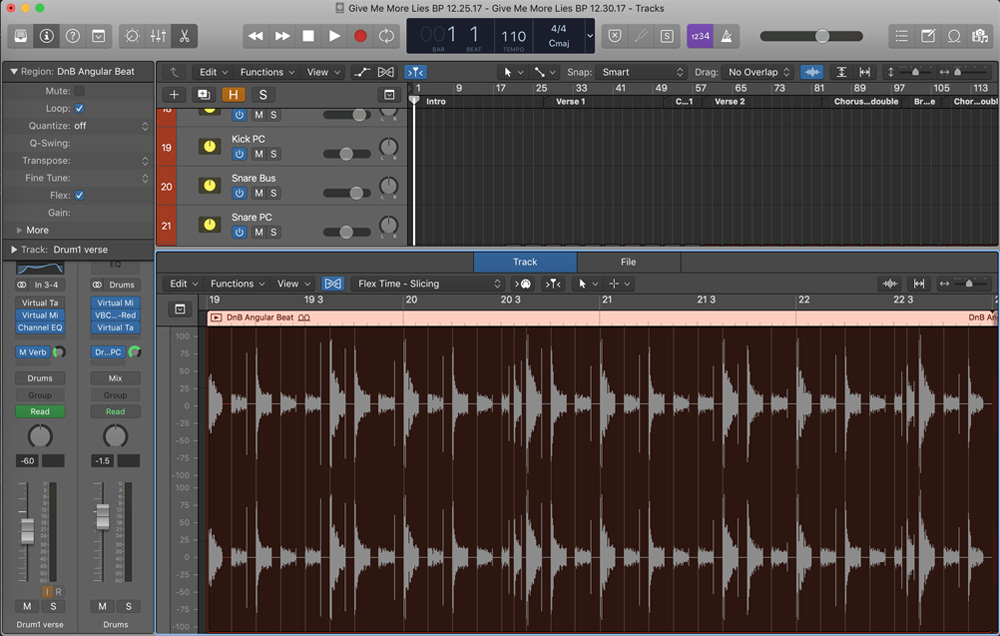
Flex Time works by slicing audio regions at the transient. Some modes work better for certain instruments than others. The mode can be selected using the drop-down menu next to the Flex Time button. Here’s a quick breakdown:
- Automatic: Logic selects based on waveform
- Monophonic: Best for instruments only playing one note at a time
- Polyphonic: Best for chordal instruments
- Rhythmic: Best for percussive instruments
There are a lot of little nuances involved in effectively using Flex Time, but essentially, you use the mouse to click on the anchor points Logic generated and drag them to the proper location on the grid within the audio editor.
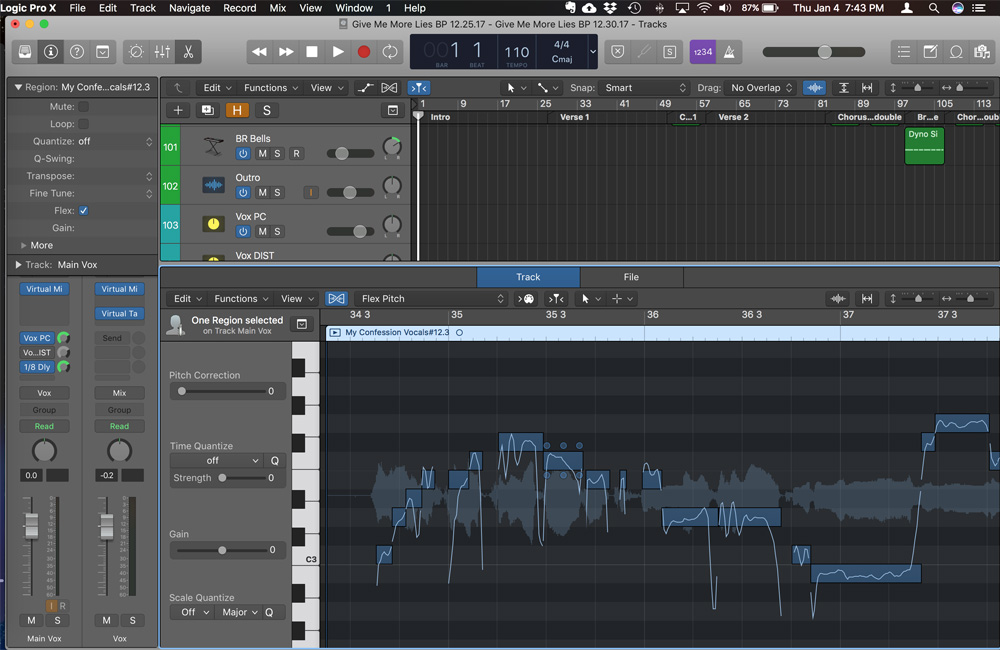
Changing Pitch with Flex Pitch
Flex Pitch is Logic’s built-in pitch-correction software, similar to Auto-Tune or Melodyne.
Engage Flex Pitch the same way you did with Flex Time (the Flex button). But this time, select Flex Pitch from the drop-down menu. Instead of generating anchor points, Logic will generate pitch blocks for every note in the region. You can manually edit each note, or right-click and select "Set All To Perfect Pitch."
Don’t worry—you can always select "Set All To Original Pitch" to revert back to the un-tuned take. You can also adjust the strength of the pitch-correction in the Inspector.
Project Alternatives
If you’re in the studio and are overcome with the desire to experiment, you’re in luck, as Logic allows you to save what it calls Project Alternatives. These are exactly what they sound like: alternative versions of a session.
To save a Project Alternative:
- Go to the file menu
- Go to Project Alternatives
- Select New Alternative
- Label appropriately and press save
Now, you can get as crazy and experimental as you want, without fear of getting lost or being unable to retrace your steps. Remove the third verse, add a guitar solo—whatever whim you want to follow is fair game since you have a solid backup.
These tips should be enough to get you through your first few sessions, but Logic has a lot to offer. Spend some time getting familiar with the features you need and use the most. And don’t forget to learn the key commands.
Tracks for this Logic session provided courtesy of I Ya Toyah.