The electric guitar is one of the most versatile instruments ever made. Originally introduced in the early 1930s, electric guitars haven't changed that much over the years—and in recent decades, neither has the approach to recording them. The basics of recording an electric guitar are probably already familiar to you:
- Move the mic toward the center of the cone for a more aggressive tone
- Move the mic toward the edge of the cone for a more mellow tone
- Move the mic closer to the amp for more amp and less room
- Move the mic further away from the amp for a more diffused tone
- Place the mic on-axis for more clarity and detail
- Place the mic off-axis for more airy, room tone
- Use two different mics to blend contrasting tones
Although these techniques are tried-and-true, there are plenty of creative ways to capture unique guitar tones that will make your records stand out. Check out these six alternative guitar mic'ing techniques for your next session.

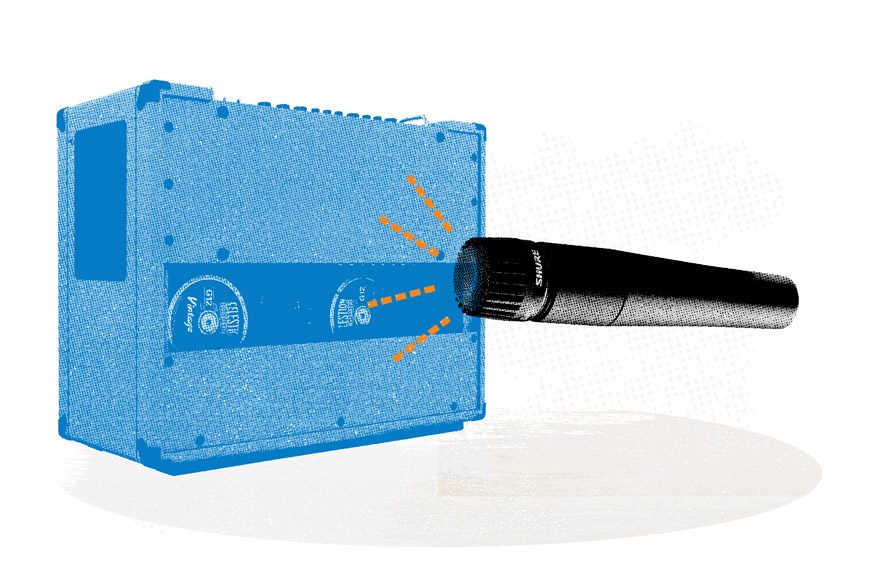
Turn the Mic Around
This first one is pretty simple. Instead of pointing the mic directly at the amp, turn it around. Place the mic a few feet back from the amp, and simply rotate it 180º to capture a blend of direct and indirect sounds bouncing around the room.
Finding the right placement can be tough, as moving the mic closer to the amp doesn't always create a more direct sound if you're using a cardioid mic. Instead, you'll get more direct reflections from the floor as you move closer to the amp, and more indirect reflections from the walls as you move further away. Try to find the sweet spot in the middle that gives you a pleasant blend of the amp, direct reflections, and indirect reflections to create a spacey, washed-out guitar tone.
Alternatively, you could use a ribbon mic or large diaphragm condenser mic in a figure-8 pattern to capture the direct and indirect sounds independently for more control.
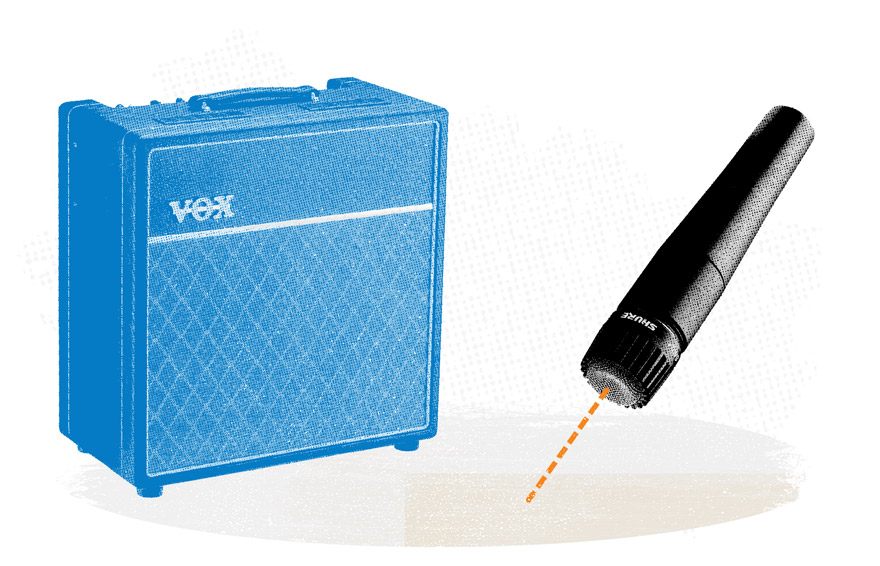
Mic the Walls, Ceiling, Floor, or Even the Hallway
Moving a cardioid microphone closer to a sound source increases the bass response, thanks to the proximity effect. However, moving the mic closer to the amp also creates a more direct sound, which isn't always desirable. So, how do you increase the bass response without losing the room tone? Point the mic at something else.
By placing the mic a few feet from the amp and angling it towards the floor, you can capture a unique room noise with a powerful bottom-end. Don't be afraid to get close—try placing the mic an inch or so from the ground and adjusting the angle to find the right amount of room tone.
For even more room tone, try pointing the mic away from the amp and directly mic'ing the back wall. This exclusively captures the direct reflections from the wall, which can be blended with close mics for an organic reverb sound.
If you're tracking in a space with high ceilings, try extending your mic stands and capturing the reflections bouncing off the ceiling. Paired with heavy compression, these mic'ing techniques can make your guitar recordings sound huge.
If you're going for an ambient, spacey sound, try opening the doors of the tracking room and putting a mic down the hall. This approach only captures indirect sounds, which gives it a particularly washed-out tone.
Mic the Back of the Amp
This approach combines the deep low-end of close-mic'ing with the ambience of indirect mic'ing. If you're using an open-back amp, try placing a mic behind the amp, pointed directly at the back of the drivers. This creates a dark, sludgy, ambient tone that can be perfect for blending with close-mics—just remember to check the phase.

The Mid/Side Technique
While basic stereo mic'ing techniques can add width to guitar recordings, the mid/side technique can add even more dimension by utilizing two mics to create three unique channels.
The mid/side technique is all about capturing the tone of the amp within the context of the room it's in. Start by placing your favorite mic a few feet from the amp. Move the mic closer for a more direct tone and further back for more room tone—just remember that cabs with multiple speakers become additive around 15-24", so try to stay at least that far back.
Next, place a ribbon or condenser mic set to figure-8 pattern directly above or below the first mic, with the capsule perpendicular to the amp—pointed towards the walls.
Finally, create three tracks in your DAW: one for the first mic, and two for the figure-8 mic. Pan the figure-8 tracks hard left and right and flip polarity (phase) on one of the tracks.
The first mic provides a tight mono recording of the amp with a clear center image, while the tracks from the figure-8 mic create a stereo recording of the room—blend to taste.
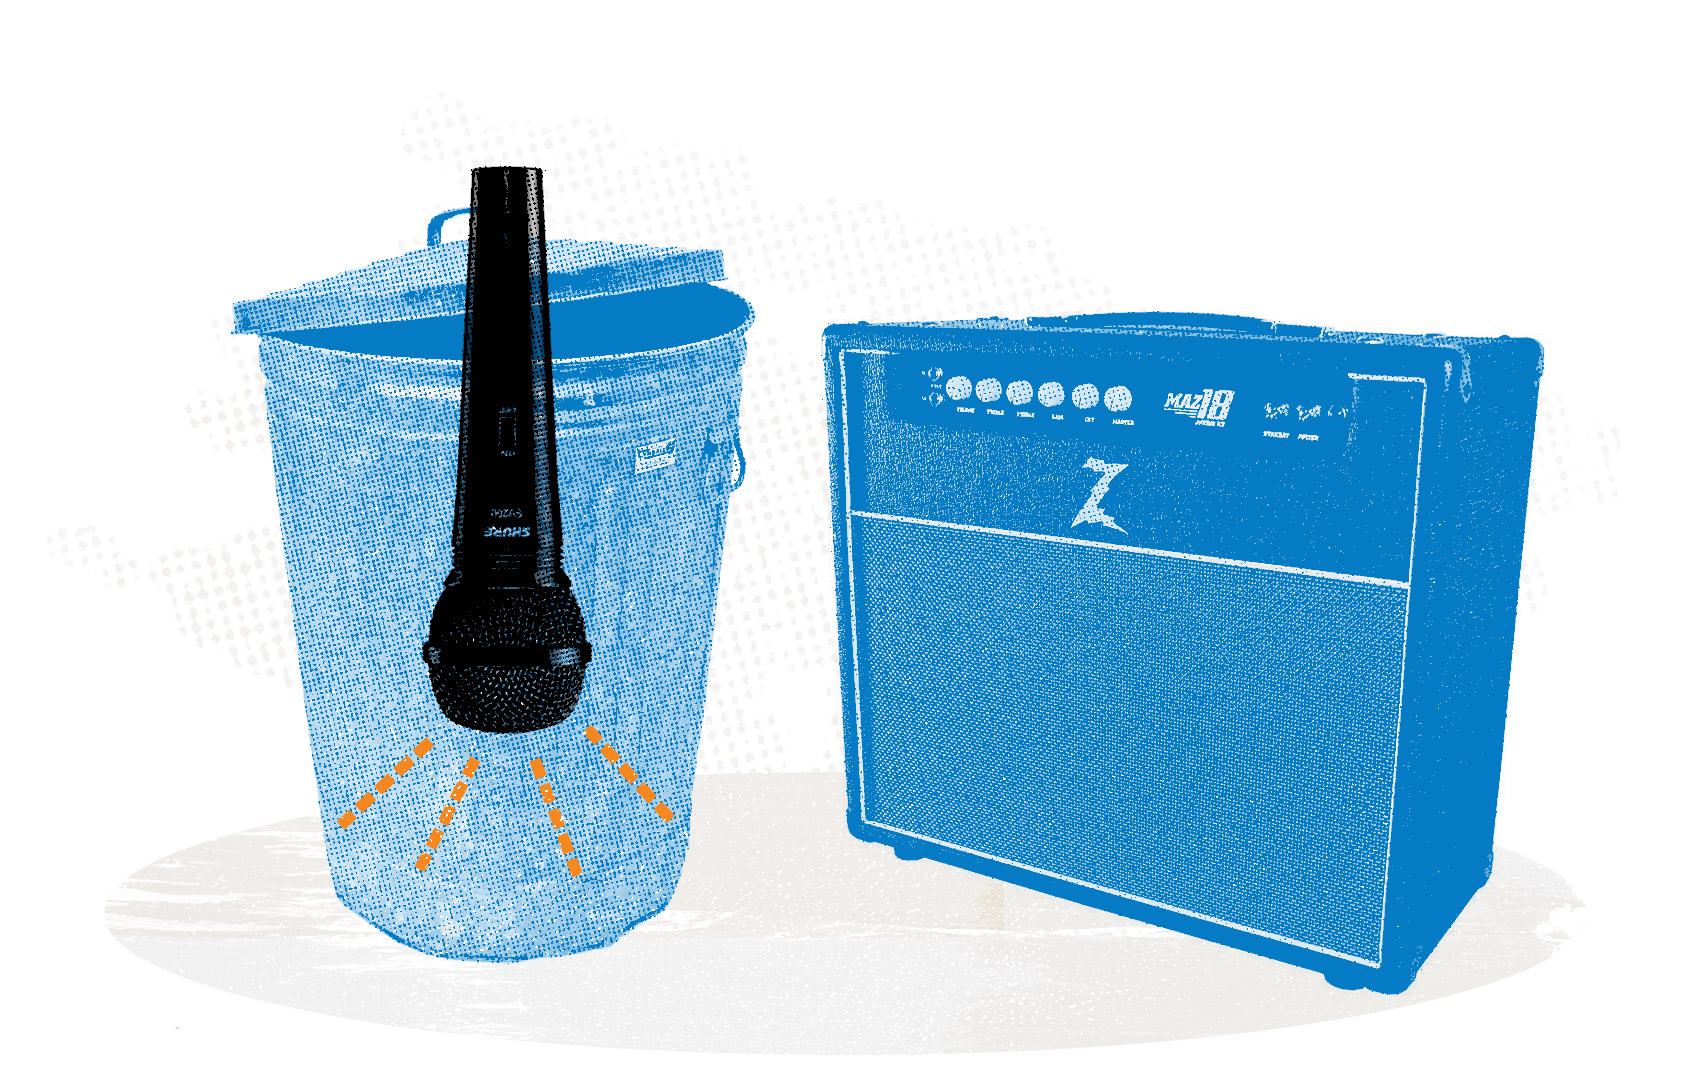
Make It Trashy
This approach has less to do with mic placement and more to do with mic selection. In most cases, engineers reach for microphones that improve the sound of the source they're recording. Next time you're tracking guitar, grab the oldest, cheapest, most annoying mic in your locker and select a spot to place it at random. You can even throw it in a trash can and place it next to the amp.
The idea is not that this mic will sound good—it's actually the opposite. This mic is supposed to sound aggressive and lo-fi. Blend the "trash mic" in with your other mics to create a unique tone that no other engineer can recreate.